
You just spent 10 hours perfecting a component in Figma. The spacing is immaculate. The corner radii are divine. The color palette sings.
Now for the "fun" part… that slow, soul-crushing translation of visual perfection into functional code.
You're switching windows, squinting at pixels, double-checking hex codes, and trying to guess the responsive behavior you know you designed. It's a momentum killer, a creativity drain, and the most tedious part of the handoff process.
What if you could skip all that? What if you could just point your AI assistant at the design and say, "build this," and it actually listened?
Well, get ready. Because that future is here, and it's easier to set up than your morning coffee.
What is this Magic? (It's Called "MCP")
Figma and GitHub Copilot can now have a direct, intelligent conversation.
The secret is a feature called the Dev Mode MCP Server. "MCP" stands for Model-level Communication Protocol (learn more in our detailed Model Context Protocol Guide), but you can just think of it as a universal translator or a secure data bridge between your design tool and your code editor.
When you enable it, Copilot doesn't just get a flat screenshot of your work. It gets a deep, structural understanding of your design:
- It knows your component hierarchy.
- It reads your design tokens and variables (colors, spacing, fonts).
- It understands your Auto Layout rules and responsive intent.
It sees your design exactly like a developer would, allowing it to write code that's not just a visual copy, but a functional match.
"This Sounds Complex. Can I Really Set It Up?"
I'll stop you right there.
Yes. A thousand times, yes.
This isn't some command-line nightmare reserved for senior engineers. It was designed for designers and developers who just want to get work done. If you can click a menu item and install a browser extension, you have all the skills you need.
The entire setup takes less than two minutes. Let's prove it.
Figma MCP + GitHub Copilot: The Real Power Combo (2026 Update)
If you're searching for github copilot figma or wondering how AI can bridge design and code, the answer lies in MCP. When GitHub Copilot taps into your Figma MCP server, it stops behaving like a general AI assistant-and starts behaving like a developer who understands your exact layout, spacing, tokens, and component intent.
- Clean handoff from design to code without manual pixel-matching
- Better component mapping and automatic responsiveness
- Supports frameworks like React, SwiftUI, Vue, and Tailwind CSS
The future of UI engineering isn’t figma-to-code plugins-it’s the figma mcp github copilot pipeline, where both tools speak the same structured language.
What's Possible with This Connection?
Once the bridge is active, you can move beyond simple requests. You can ask Copilot to:
- "Generate a React component for the selected card frame, using Tailwind CSS for styling and TypeScript for the props."
- "Create the SwiftUI code for this button, making sure to use our project's defined color variables."
- "Translate this entire login screen into a single HTML file with an inline CSS, and make sure it's responsive."
- "Refactor the code for this component to use CSS Grid instead of Flexbox."
It pulls the design data directly from Figma and writes the code right in your editor. No more guesswork.
The 2-Minute Setup: Your Step-by-Step Guide
Ready? Let's build the bridge.
Part 1: Flip the Switch in Figma
This step tells your Figma desktop app to start securely broadcasting its design data locally on your computer. It's like turning on a local radio station that only your VS Code can tune into.
- Open the Figma desktop app (make sure it's the latest version, as this feature is new).
- Create a new Figma file or open any existing design file.
- Click the main Figma menu icon in the top-left corner.
- Navigate to Preferences → Enable Dev Mode MCP Server.
- Make sure the option is checked.
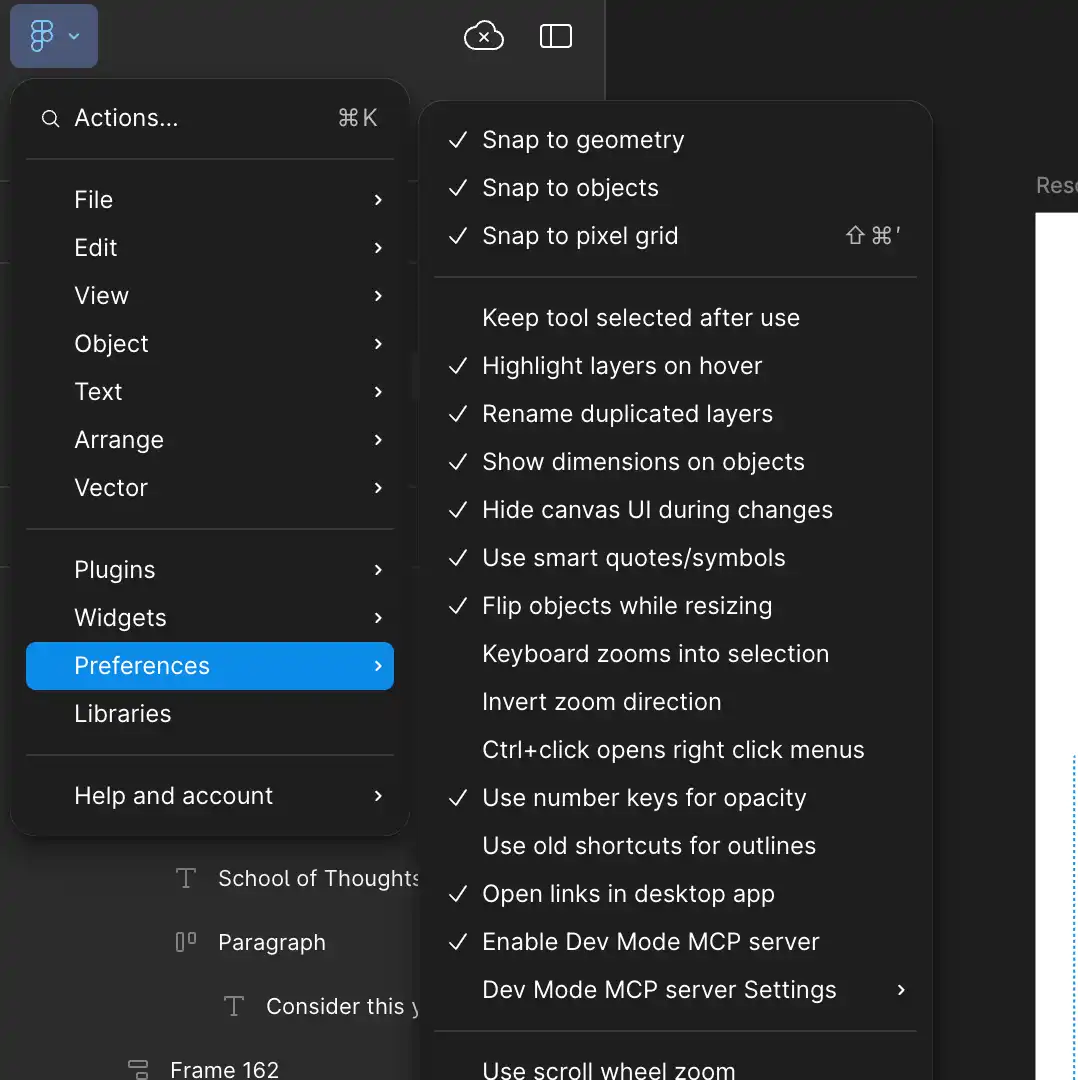
That's it. Figma is now broadcasting.
Part 2: Tune In from VS Code 💻
This step installs the official Figma extension, which gives GitHub Copilot the "ears" to listen for Figma's broadcast and understand the data it's receiving.
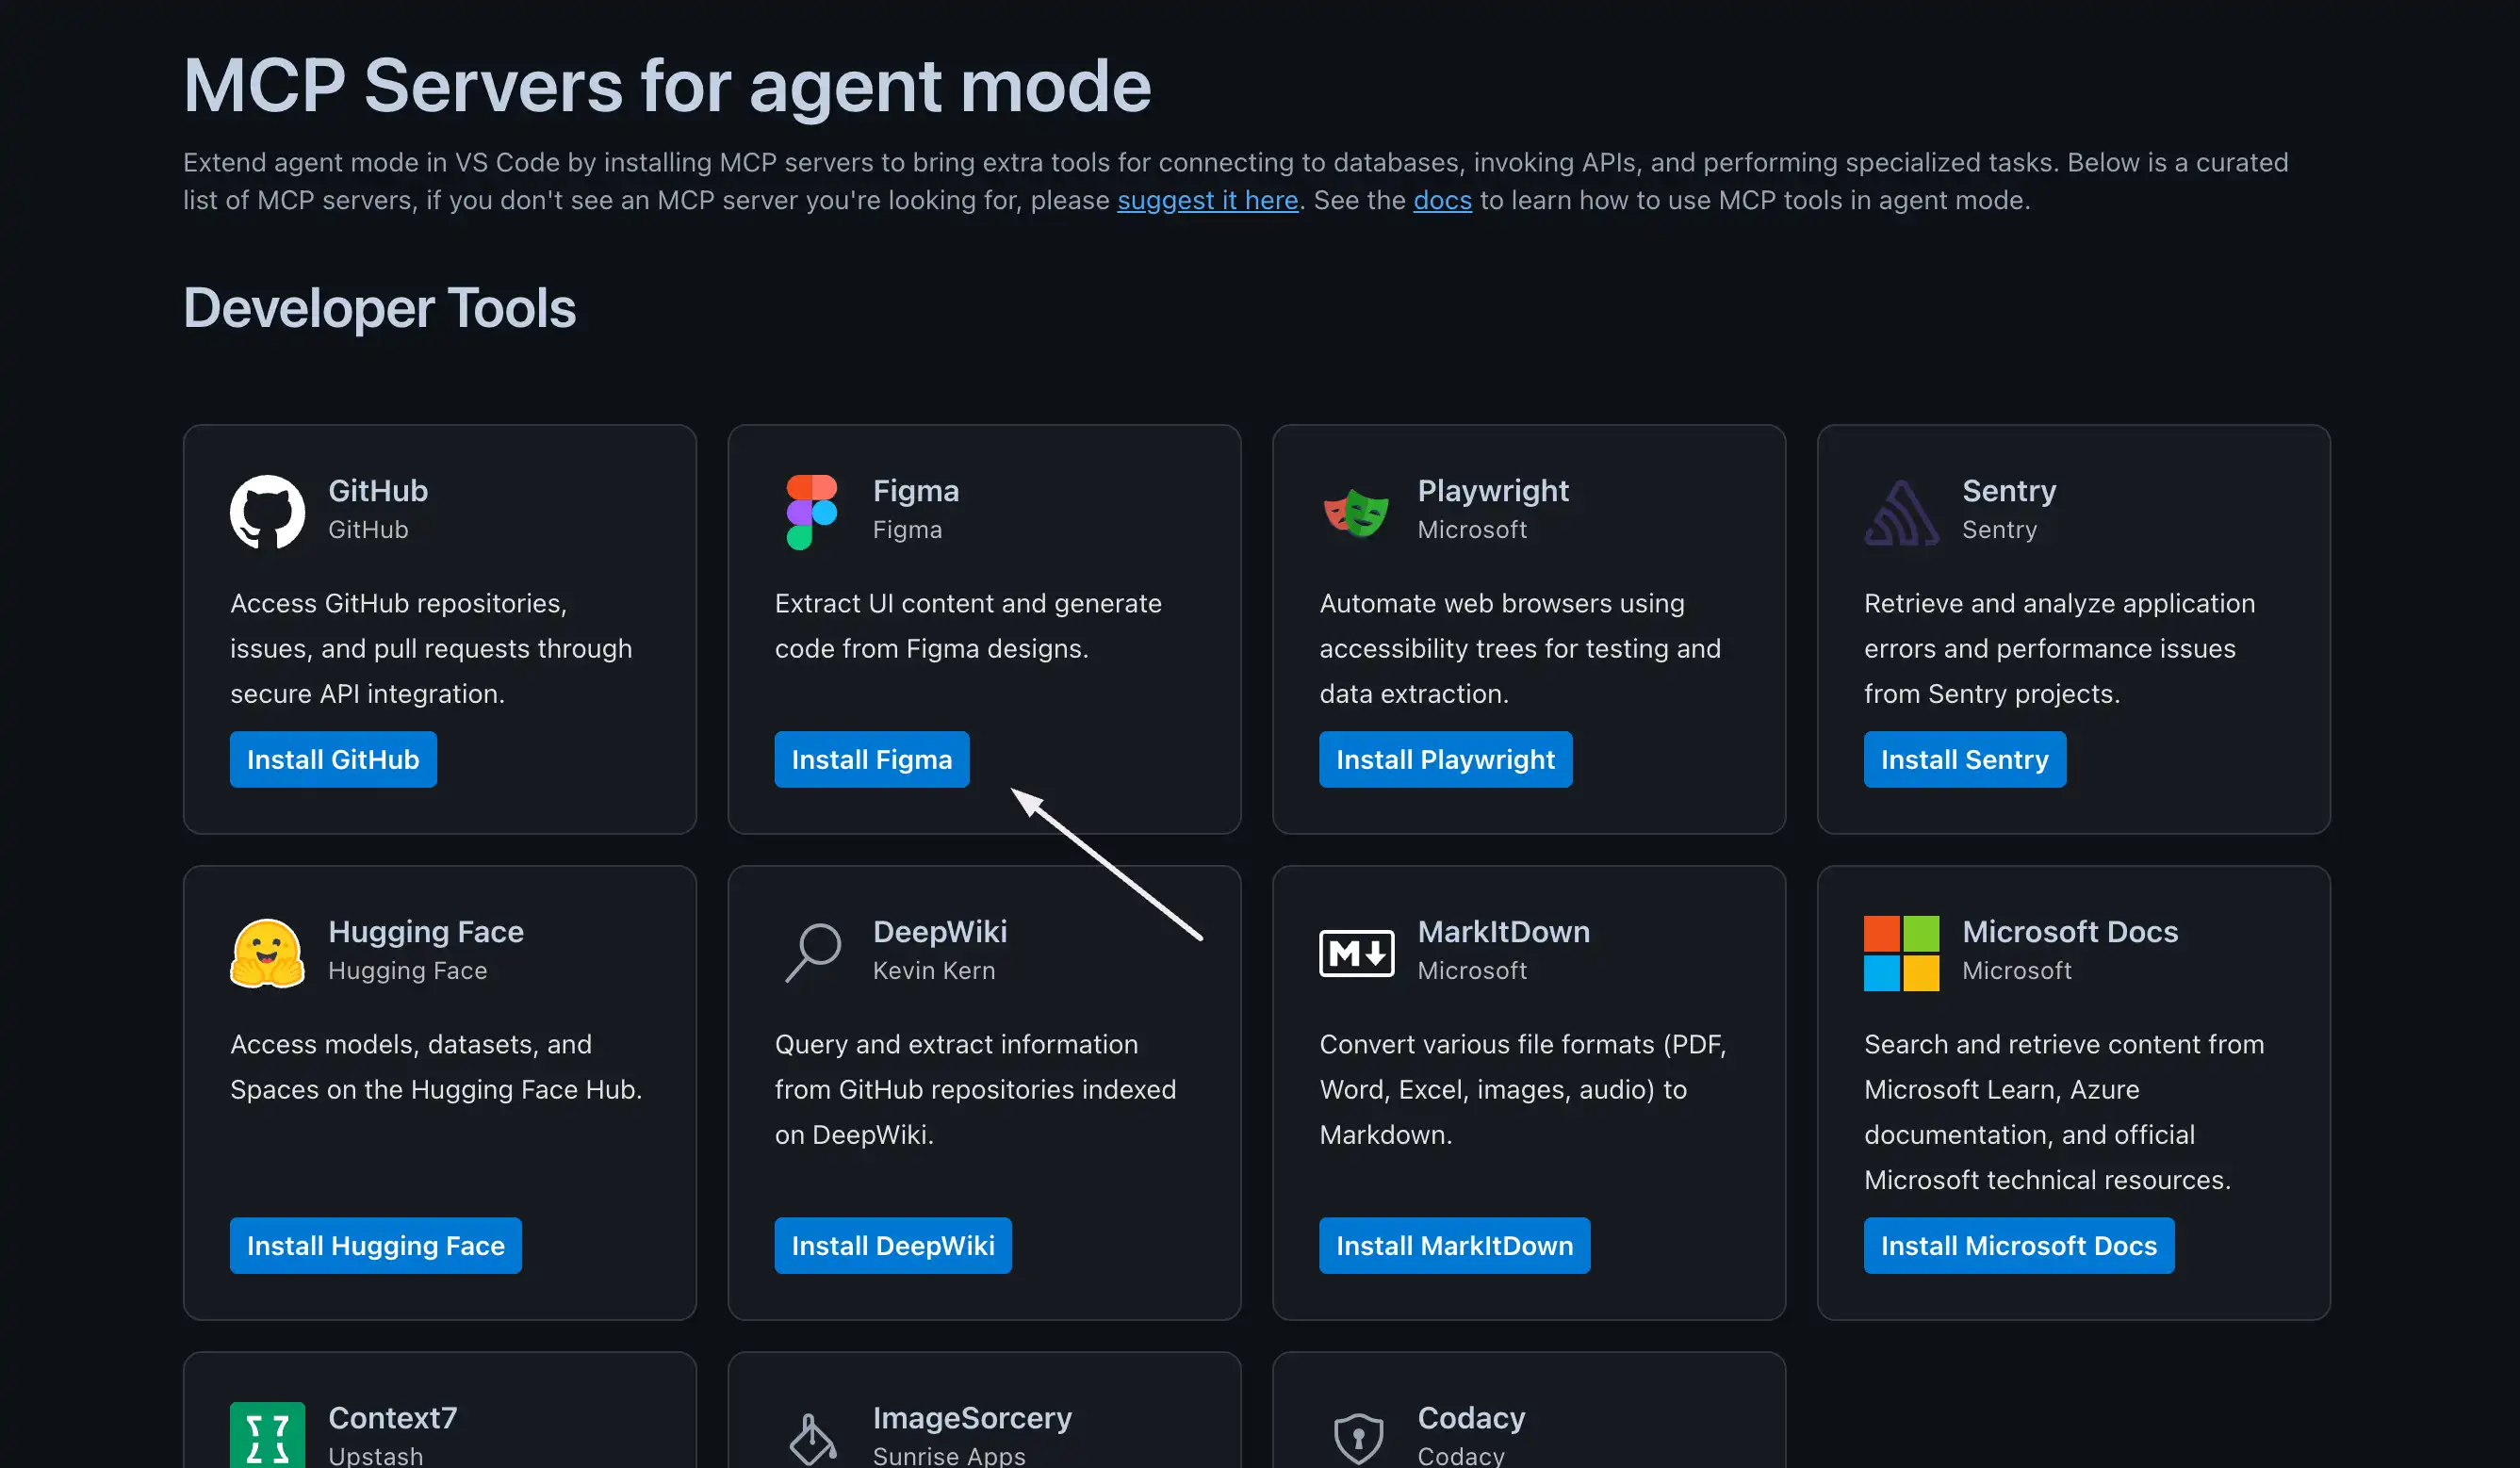
- In VS Code, go to the Extensions view (the icon with four squares on the left sidebar).
- In the search bar, type
@mcpand click the "MCP Servers" Text or simply go to this link.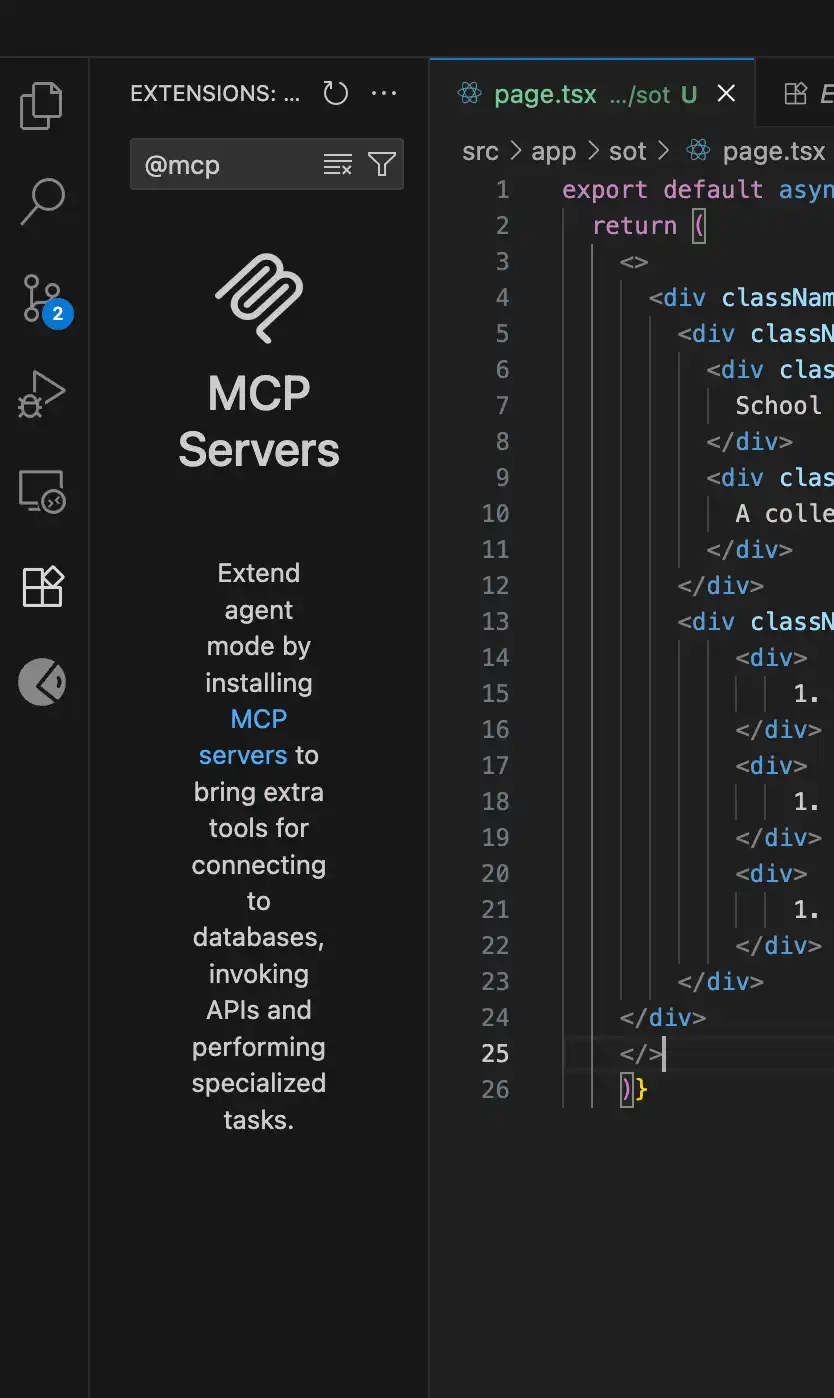
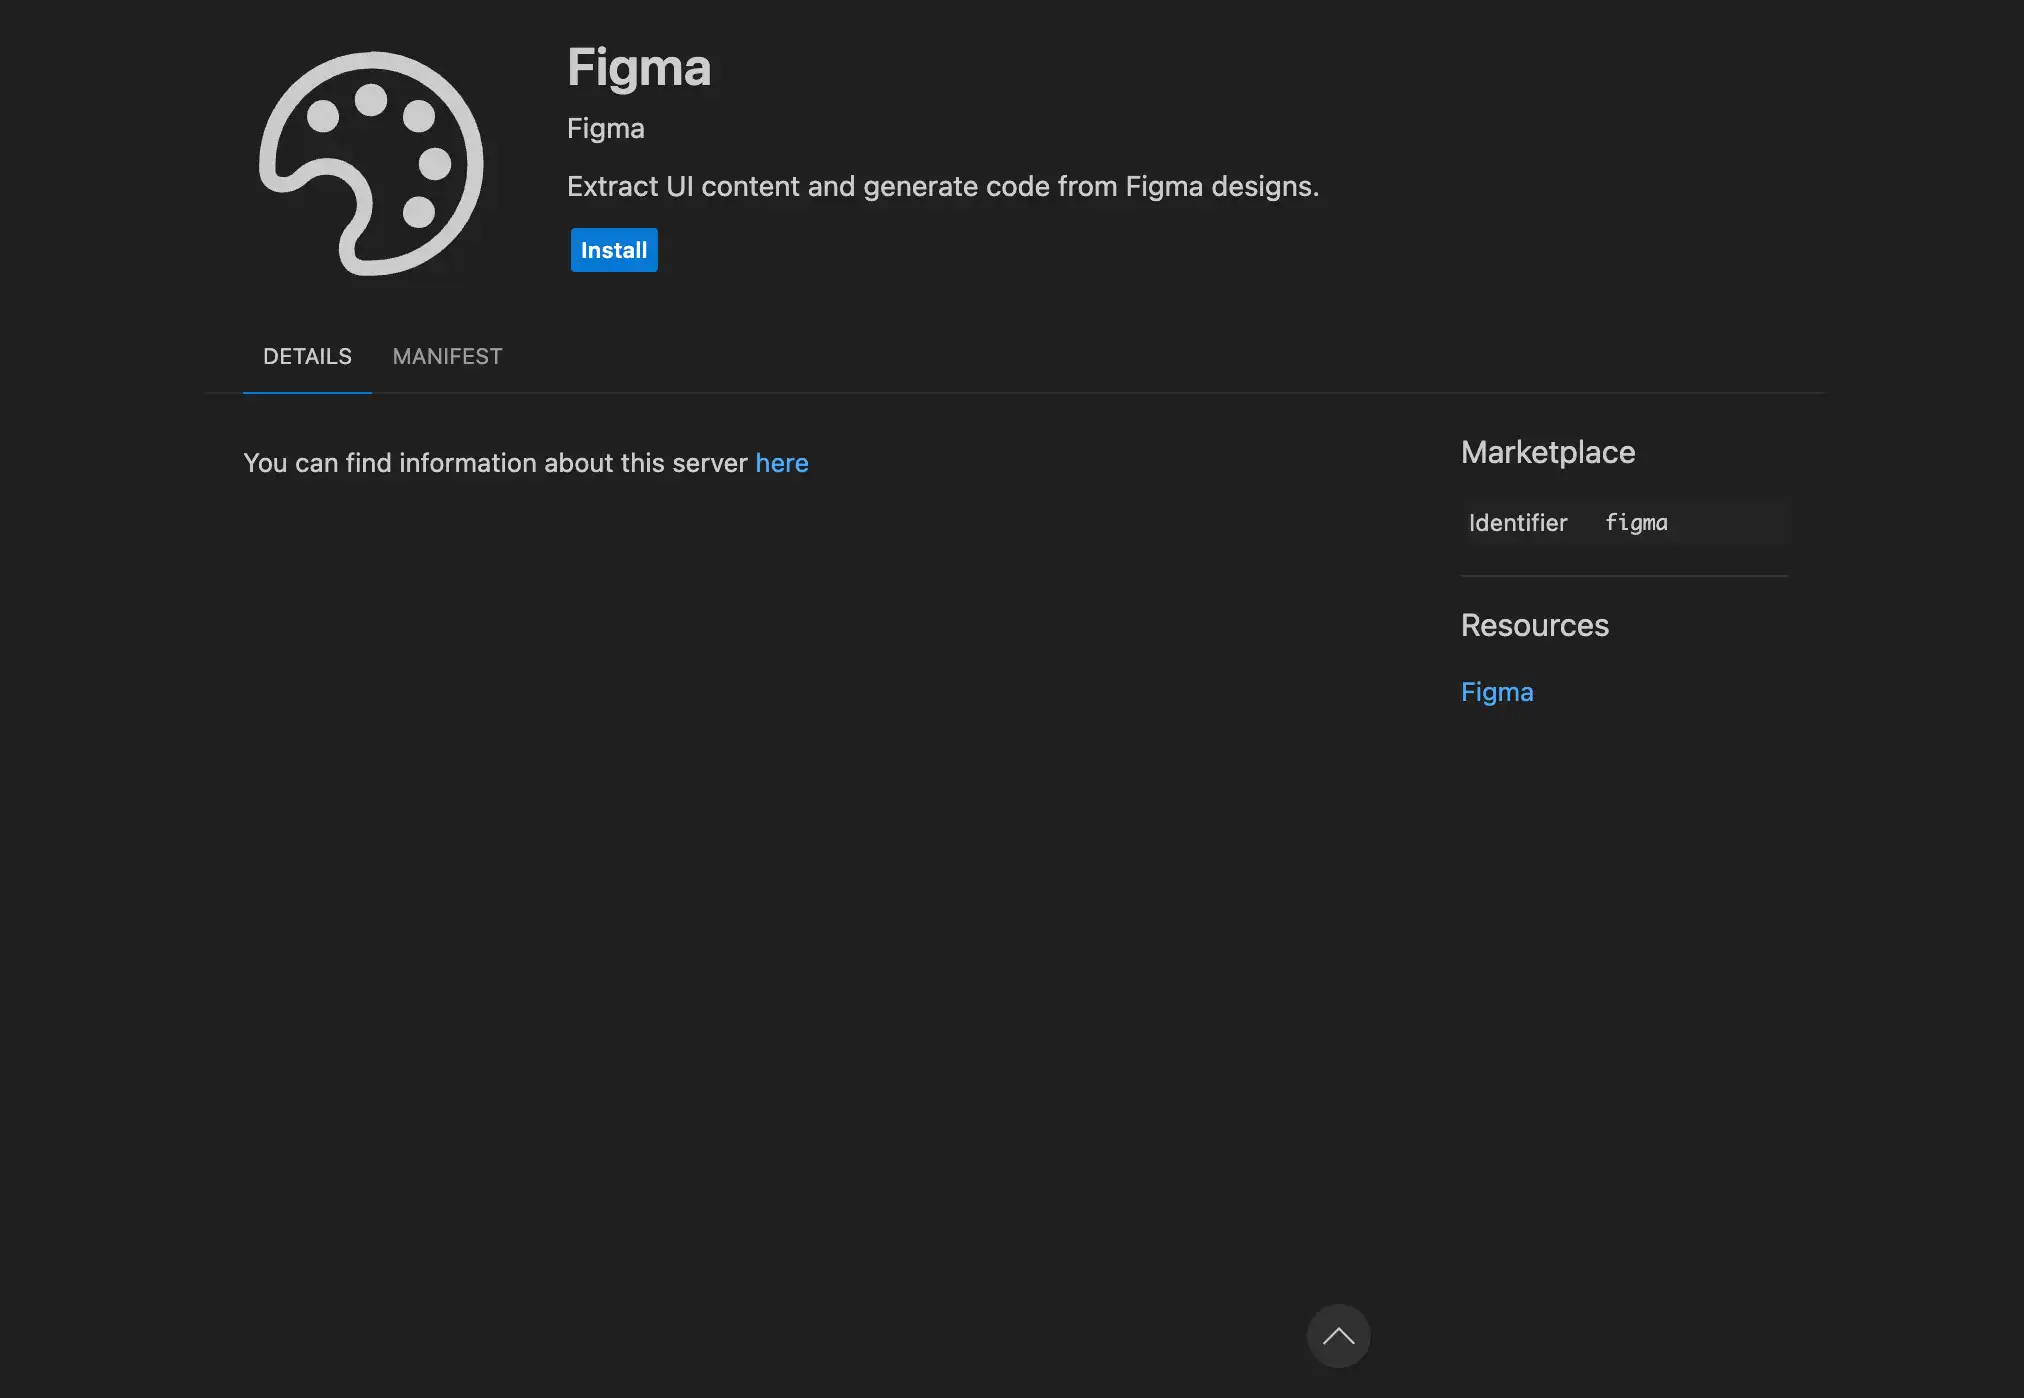
- Select the Figma Extenstion in the list and click install. It should redirect you to VS Code.
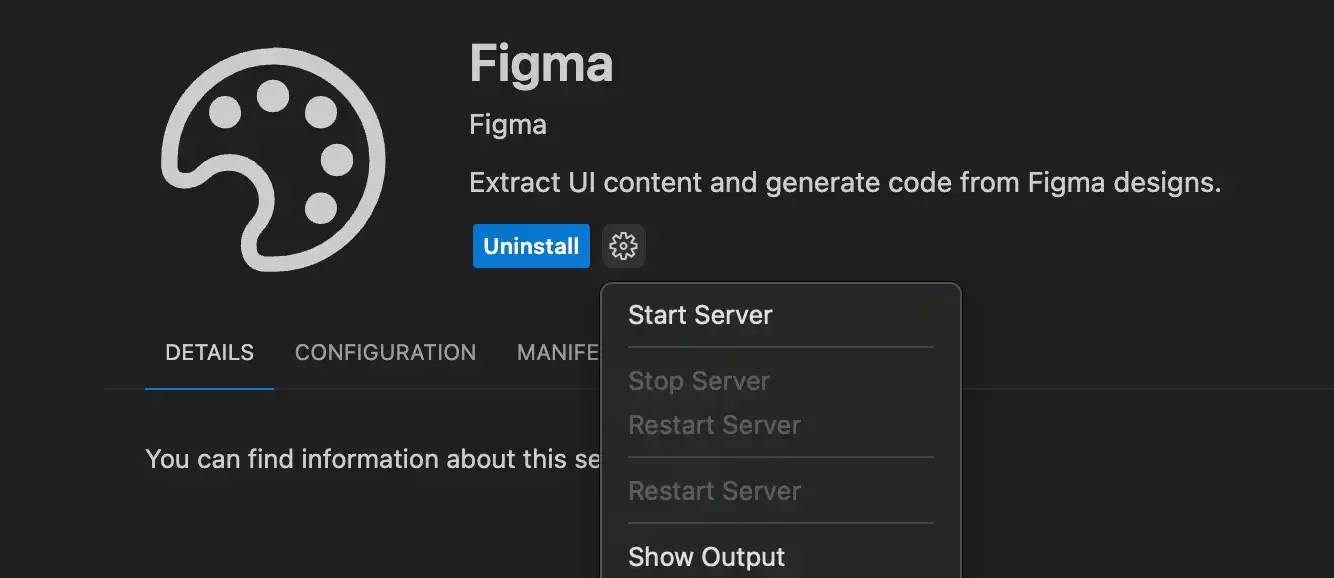
- You’ll be redirected back to VSC. Click the blue Install button to install the MCP
- Now click the setting icon and click "Start Server"
Boom. You're done. The bridge is built, and the conversation can begin.
Tools and Usage: Talking to Your New AI Teammate
This magic works only in "Agent mode" in VS Code. To understand how multiple AI agents collaborate and communicate through protocols, check out our Agent-to-Agent (A2A) Protocol Explained guide.
You don't need to memorize the technical tool names (get_code, get_image, etc.). Just speak naturally and tell Copilot what you want to achieve.
How to Use GitHub Copilot With Figma MCP (Best Prompts)
Getting started with github copilot figma mcp is surprisingly easy. Once the MCP server is active, treat Copilot like a real developer. Give it tasks-not vague requests.
Try prompts like:
"Generate a React component using Tailwind for the selected Figma frame." "Convert this frame into SwiftUI. Use project color variables." "Show me only the layout code using CSS Grid." With MCP, Copilot reads your Auto Layout rules, tokens, and hierarchy. This means it can write structure-aware code instead of guessing based on screenshots.
Level Up: Fine-Tune Your Code Output (Advanced Settings)
Inside Figma's Preferences → Dev Mode MCP Server Settings, you'll find a couple of powerful toggles to customize your results.
-
Enable tool get_image:
- ON (Default): Copilot will pull the actual images from your design and embed them in the code. Great for quick mockups.
- OFF: It will use simple placeholders instead (e.g.,
<img>). This is incredibly useful for production code where you want to manually add optimized images or use a component like Next.js<Image>.
-
Enable code connect:
- ON: This is the superpower for established design systems. If you've linked your Figma components to your real codebase (using the Code Connect feature), Copilot will prioritize using your actual, existing components instead of writing new, duplicative code. It's the ultimate way to enforce consistency and the DRY (Don't Repeat Yourself) principle.
Why GitHub Copilot + Figma MCP Beats Plugins
Figma plugins are useful - but they lack context and structure. The power of figma mcp github copilot is that Copilot receives true design intelligence:
- Component names → become code components
- Auto Layout → becomes Grid/Flexbox/Tailwind logic
- Design tokens → become variables instead of hard values
That’s why MCP isn’t just a shortcut-it’s the evolution of design-to-dev workflows.
Pro Moves: Getting Insanely Good Results
The connection is just the start. The quality of the code you get depends on two things: the quality of your design file and the quality of your prompt.
1. Prep Your Figma File Like a Pro
Garbage in, garbage out. A clean, well-structured Figma file gives Copilot the best context to write clean, well-structured code.
-
Components are King: If you reuse it, make it a component.
Why it matters: This tells the AI that this isn't a one-off group of layers, but a reusable, defined element.
-
Link to Code: Use Figma's Code Connect feature whenever possible.
Why it matters: This is the most explicit instruction you can give. It removes all guesswork and tells the AI, "Don't write new code for this; use this exact component from our library."
-
Use Variables: Define your design tokens (spacing, color, radius) as variables.
Why it matters: The AI will see and use these variable names, leading to cleaner code that's connected to your design system (
var(--primary-blue)) instead of hardcoded values (#0d99ff). -
Name Your Layers:
UserProfileCardis infinitely better thanGroup 5 copy 2.Why it matters: Semantic names become component and class names. Good layer names lead to readable code.
-
Use Auto Layout: This is how you communicate responsive intent.
Why it matters: This tells the AI how elements should reflow and resize, leading to robust CSS with Flexbox or Grid instead of fragile, absolute positioning. Pro Tip: Resize the frame in Figma first to make sure it behaves how you expect.
2. Write Prompts Like You're Briefing a Teammate
Clear, specific instructions lead to better results. Don't just say "make this." Guide the AI.
Be specific about frameworks, file paths, and structure. Think iteratively.
Good Prompt Examples:
Simple: "Generate iOS SwiftUI code from the selected frame."
Framework-specific: "Use Shadcn Library for this layout and put all the code in a new file named `testimonialcard.tsx`."
File-specific: "Add this new icon component to `src/components/icons/icon.ts`."
Iterative: "That's a good start. Now, refactor the previous code to use our `Stack` layout component instead of raw flexbox."
Think of it as a conversation. The clearer your instructions, the better your AI teammate will perform. Now go build something amazing.